Tomatoes are the most popular vegetable to grow at home — and for good reason. There is absolutely nothing like the taste of a tomato you grew yourself. Sweet, juicy, and bursting with flavour, homegrown tomatoes bear no resemblance to the pale, flavourless ones from the supermarket.
Growing them from seed is simpler than you might think. Here is my complete step-by-step guide for beginners.
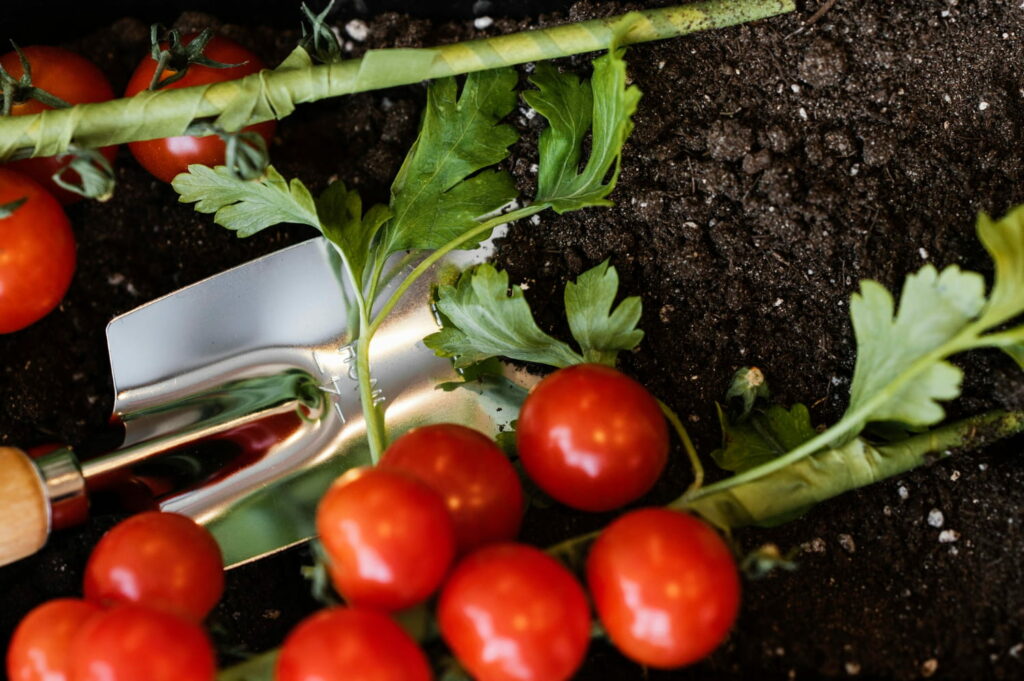
What You’ll Need
- Tomato seeds (choose a beginner-friendly variety like Gardener’s Delight or Tumbling Tom)
- Seed trays or small pots
- Seed-starting compost
- A warm, bright windowsill or propagator
- Larger pots or a raised bed for transplanting
Step 1 — Sow Your Seeds
Fill small pots or seed trays with moist seed-starting compost. Sow 2 seeds per pot, about 1cm deep. Cover lightly with compost and water gently.
🍅 Timing: Sow indoors 6 to 8 weeks before your last expected frost date — usually late February to April depending on your location.
Step 2 — Provide Warmth for Germination
Tomato seeds need warmth to germinate — ideally between 20 and 25°C. Place your pots on a warm windowsill or inside a propagator. Seeds usually germinate within 7 to 14 days.
🍅 Tip: Cover pots with a clear plastic bag or lid to retain moisture and warmth until germination occurs.
Step 3 — Give Them Light
As soon as seedlings appear, move them to the brightest spot you have. Insufficient light causes weak, leggy seedlings that struggle later. A south-facing windowsill is ideal.
🍅 Tip: Turn pots a quarter turn every day to prevent seedlings from leaning toward the light.
Step 4 — Thin Out Seedlings
Once seedlings have their first true leaves, remove the weaker seedling from each pot, leaving just the strongest one. This gives it the space and resources it needs to develop properly.
Step 5 — Pot On
When your seedlings are about 10cm tall and have several sets of leaves, move them into larger individual pots filled with good quality potting compost. Bury the stem up to the lowest leaves — tomatoes grow roots along their buried stems, making the plant stronger.
Step 6 — Harden Off
Before moving your plants outside permanently, harden them off over 7 to 10 days. Place them outside in a sheltered spot for a few hours each day, gradually increasing the time. This acclimatises them to outdoor conditions.
Step 7 — Plant Out
After the last frost has passed and nights are consistently above 10°C, plant your tomatoes in their final position — a large container, raised bed, or greenhouse border. They need full sun and shelter from wind.
🍅 Tip: Add a cane or stake at planting time to support the plant as it grows.
Step 8 — Water, Feed and Support
Water consistently — irregular watering causes problems like blossom end rot and split fruit. Feed with a tomato fertiliser every week once the first flowers appear. Tie the main stem to the support as it grows.
Step 9 — Remove Side Shoots (for Cordon Varieties)
For tall, cordon varieties, pinch out the side shoots that grow in the joint between the main stem and the leaves. This keeps the plant focused on producing fruit rather than excessive foliage.
Step 10 — Harvest
Tomatoes are ready to harvest when they are fully coloured and come away easily from the vine with a gentle twist. Regular harvesting encourages the plant to produce more fruit.
Ava’s Final Tip
My favourite beginner variety is Gardener’s Delight — it’s sweet, reliable, and incredibly productive. If you only grow one tomato this year, make it that one.
Conclusion
Growing tomatoes from seed is one of the most satisfying things you can do as a gardener. Follow these steps, be patient, and get ready to enjoy the best tomatoes you’ve ever tasted — grown right in your own garden.
Happy tomato growing! 🍅 — Ava