Grow Pumpkins in Pots for Small-Space Halloween Fun
Growing pumpkins in pots might sound ambitious, but trust me—you can do this, even with just a small balcony or limited patio space. Pumpkins bring vibrant orange hues, deep green leaves with velvety textures, and a festive spirit that’s hard to beat come October. Plus, nothing beats harvesting a plump pumpkin you’ve nurtured yourself. In this guide, I’ll walk you through clear, simple steps, plus practical solutions for common challenges like space limits, soil quality, and pests. Together, we’ll turn your containers into a mini patch of Halloween magic.
Getting Ready — What You’ll Need
Before your pumpkin adventure begins, gather your essentials carefully. The right materials set you up for success.
- Container: Choose a pot at least 30 cm (12 in) deep and 40 cm (16 in) wide. Pumpkin roots need room to develop. Large plastic pots, half whiskey barrels, or wooden half-barrels work well. (If your area is very hot, clay pots help keep roots cooler.)
- Soil: Use a rich, well-draining potting mix. Aim for a blend of 70% loam, 20% compost, and 10% coarse sand or perlite. This ensures good structure and nutrient flow. Avoid garden soil alone—it’s often too dense.
- Fertilizer: You’ll want a low-nitrogen, balanced fertilizer—for example, a 5-10-10 NPK formula—to encourage strong roots and fruit development rather than excessive leafy growth.
- Seeds or seedlings: Pick small-patch-suitable varieties like ‘Jack Be Little’, ‘Baby Boo’, or ‘Miniature White’. These compact pumpkins thrive in pots better than giant patch types.
- Sunlight: Access to 6–8 hours of direct sunlight daily is critical for fruit set and sweetness.
- Basic tools: A trowel, watering can with a narrow spout, moisture meter or your fingers, and a soft cloth for handling vines without bruising.
For eco-friendly or budget-conscious gardeners, recycle large yogurt tubs or old plastic buckets—just punch sufficient drainage holes in the bottom. Compost-enhanced homemade soil can substitute bagged mixes, and natural seaweed or fish emulsions can replace synthetic fertilizers.
Step-by-Step — How to Grow Pumpkins in Pots
1. Preparing Your Pot
Start by cleaning your container thoroughly with mild soap and water to remove any lingering pathogens. Drainage is the first critical step—layer the pot’s bottom with 3–5 cm (1–2 in) of coarse gravel or broken pottery shards. This prevents waterlogging and root rot. Next, fill your pot with the pre-mixed soil, leaving about 5 cm (2 in) from the rim to avoid overflow when watering.
Ensure the soil is loose but firm—not packed tight. When pressed, it should feel like a sponge wrung out of water: moist but not soggy. Avoid a common pitfall: compacted soil restricts root growth and airflow, while pots without drainage holes will drown your plants.
2. Sowing or Planting
If sowing from seed, plant them at a depth of 1–2 cm (0.5–1 in). Space seeds at least 30 cm (12 in) apart if you’re sowing multiple in the same large container—or just place one seed per pot for best results. Pre-soaking seeds in lukewarm water for 6 hours before planting softens the seed coat, boosting germination speed.
Plant only when soil temperature is consistently above 18°C (65°F); pumpkins won’t sprout well in cooler ground. You’ll know germination is successful when tender green sprouts appear after 7–10 days, with the soil surface slightly cracked and still moist.
Pro tip: Cover newly sown seeds with a thin layer of vermiculite or fine compost—this keeps moisture consistent without smothering the seed.
3. Watering and Sunlight
Pumpkins are thirsty but don’t like soggy roots. Aim to water deeply, letting water seep through the drainage holes until you see moisture at the pot’s base. On warm days, this usually means watering 2–3 times per week. In cooler weather, reduce to once weekly, always checking soil moisture first.
Feel the top 2 cm (0.8 in) of soil: if dry, it’s time to water again. Avoid shallow, frequent watering that encourages weak roots and disease.
If you live in a hot, dry, or windy place, cluster pots close together to create a microclimate that helps retain humidity. Mulching with straw or leaves on the soil surface further reduces moisture loss. In extreme heat, partial afternoon shade protects tender vines.
Your pumpkin needs a minimum of 6–8 hours of direct sunlight daily for vibrant growth and sweet fruit. In cloudier regions, consider supplementing with a grow light or placing pots near south-facing windows or walls that reflect sunlight.
4. Feeding and Maintenance
Your pumpkin’s appetite grows steadily. Fertilize every 3–4 weeks with a balanced liquid feed low in nitrogen. Excess nitrogen encourages sprawling leaves but fewer flowers and fruit. When true leaves develop, you can begin feeding diluted feed—apply in early morning or late afternoon to avoid leaf burn.
Watch for overcrowded seedlings. Thin any extras by clipping the smaller ones at soil level once the first true leaves appear, keeping the strongest plant. Prune excessive side shoots once the plant is vigorous with several main leaves—this focuses energy on fruit production.
Check soil aeration by gently scratching the surface every couple of weeks; if soil is crusted or hardened, lightly loosen it with a fork without disturbing roots deeply.
“The secret is not more work — it’s regular care and observation.” — after years growing pumpkins, this steady, gentle approach yields the best success.
5. Troubleshooting While They Grow
Problems will arise, but with quick action, you’ll keep your pumpkins healthy.
- Yellow leaves: Often a sign of nutrient imbalance or overwatering. Add compost tea or liquid seaweed to restore nutrients and check if soil feels waterlogged. If yes, improve drainage immediately.
- Stunted growth: Usually due to insufficient light or compacted soil. Move the pot to sunnier spots and gently aerate the soil.
- Pests: Watch for aphids, squash bugs, or powdery mildew. Remove pests by hand or spray with a mild insecticidal soap. Early morning watering reduces mildew risk.
- Poor flowering: Excess nitrogen is the typical cause. Switch to a phosphorus-rich fertilizer to encourage blooms and fruit.
6. Harvesting
Pumpkins typically mature in 70–90 days after sowing. Look for a deep, consistent orange color and a hard rind that resists thumbnail pressure. The stem should be dry and brown—but avoid waiting until the stem breaks off; a firm connection is good for storage.
Reduce watering the week before harvest to concentrate sugars in the fruit, enhancing flavor and firmness.
To harvest, use a sharp knife or pruners to cut the pumpkin from the vine, leaving roughly 5 cm (2 in) of stem attached. Pulling can damage stems and shorten storage life.
Store pumpkins in a cool (10–15°C or 50–59°F), dry, and dark place with good air circulation. Under these conditions, pumpkins last up to 2 months. Short-term refrigeration at 4–7°C (39–45°F) is possible for a few weeks but may soften the rind.
Extra Tips for Perfect Results
- Companion plants: Marigolds repel pests, nasturtiums attract aphids away, radishes deter cucumber beetles, and beans fix nitrogen to improve soil health.
- Rotate your pots each season to prevent nutrient depletion and soil fatigue.
- Mulch with straw or dry leaves to retain soil moisture and regulate temperature.
- Use rainwater when possible; tap water with high chlorine or minerals can harden the soil structure over time.
- In windy spots, cluster multiple pots to increase stability and share humidity.
- During very hot, sunny days, provide a thin fabric shade cover for midday to protect delicate vines and leaves.
Common Mistakes and How to Fix Them
- Overwatering: Causes roots to stay soft and rot. Always let the top 2 cm dry before watering again.
- Weak growth: Too little light. Simply relocate the pot to a sunnier spot; pumpkins are sun lovers.
- Yellow leaves: Excess nitrogen from fertilizer. Switch to one higher in phosphorus and potassium to rebalance nutrition.
- Poor germination: Seeds planted too deep. Limit depth to 0.5–1 cm for better success.
- Misshapen roots: From compacted soil. Always mix in coarse sand or perlite for proper airflow and drainage.
Harvest and Storage
When harvesting, handle pumpkins gently. Use garden scissors or a sharp knife to avoid tearing the stem, which shortens storage life. Leave about 5 cm (2 in) of stem on the pumpkin. Store in a dark, cool place with temperatures around 4–7°C (39–45°F). At these temperatures, pumpkins keep for up to 2 weeks; at slightly warmer conditions (10–15°C), they can store for about a month or more.
Alternative preservation includes pickling pumpkin strips, drying slices into chips, or freezing cooked pumpkin. These methods extend enjoyment beyond the fall season.
Remember to save seeds from fully matured pumpkins to plant next year. Scoop them out, rinse well, dry for 1–2 weeks on newspaper in a warm, airy spot, and store in a cool, dry place inside labeled envelopes.
What Success Looks Like
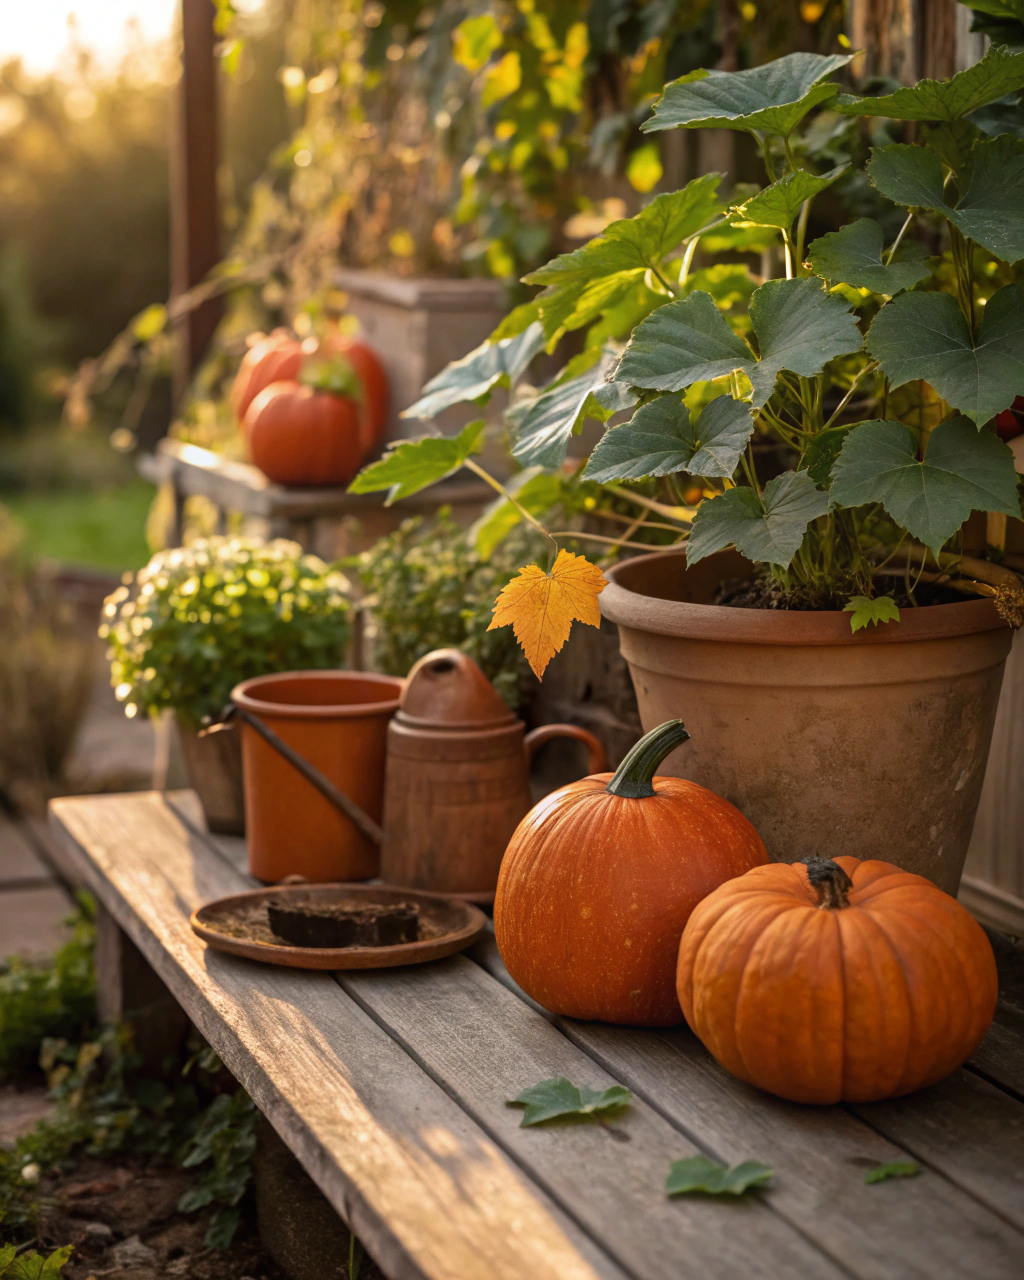
Nothing compares to the moment you hold your first firm, deep-orange pumpkin from your pot. The smooth, slightly waxy rind gleams in sunlit warmth. Weighty yet firm in hand, its sweet, earthy aroma promises the seasonal delights ahead. Expect a yield of about 1–2 kg (2–4 lb) per pot, very satisfying for such a small space.
This success comes not from perfection, but from steady care, attention, and a little patience. Watching vines unfurl leathery green leaves and tender flowers opens a connection to nature that’s truly rewarding.
Mini Recap — Your Success Checklist
- Pot depth: Minimum 30 cm (12 in).
- Soil mix: 70% loam, 20% compost, 10% sand.
- Watering: 2–3 times per week, depending on weather and soil moisture.
- Sunlight: 6–8 hours daily.
- Fertilizer: Every 3–4 weeks, low nitrogen, higher phosphorus.
- Harvest time: 70–90 days post-sowing.
Closing Reflection
Growing pumpkins in pots is a beautiful journey—from soil preparation to the final harvest. Success doesn’t come from rushing or perfect conditions, but from consistent small acts: watering carefully, noticing leaf colors, trimming with care, and celebrating each sprout and bloom. Every plant you grow teaches you something new. Don’t rush it—watch, adjust, enjoy. That’s what makes you a gardener.

Hi there — I’m Ava, the creator behind Ava Garden Tips 🌿
I’ve always been passionate about plants, flowers, and the simple joy that comes from growing something beautiful. What started as a small balcony garden has turned into a love for helping others create their own green spaces — no matter how big or small.
