
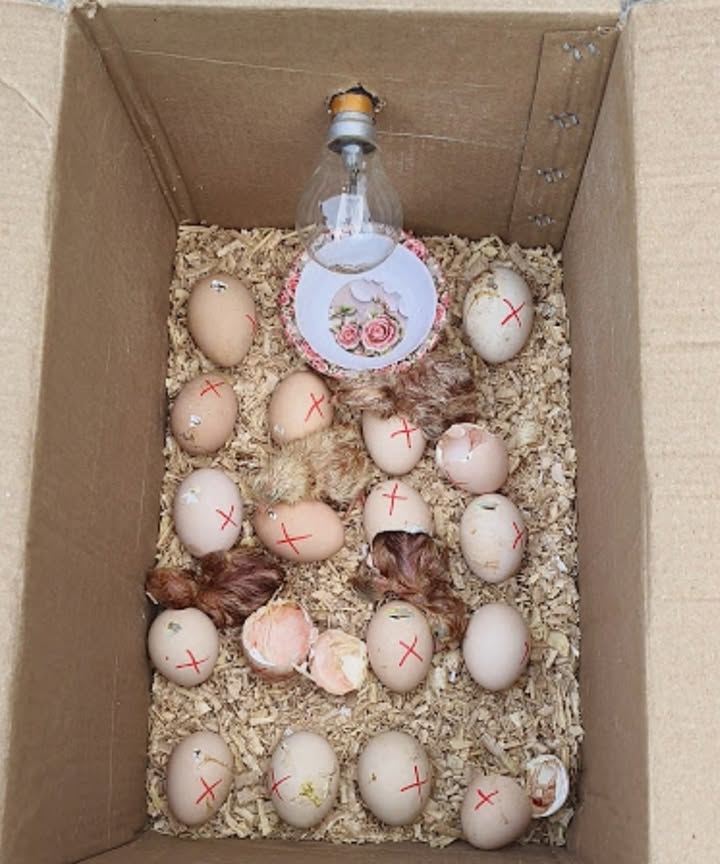
Homemade Egg Incubator Easy Step-by-Step Guide
What Youll Need:
Insulated box like a Styrofoam cooler or thick cardboard box
Light bulb or heat lamp for warmth
Thermostat to control the temperature
Thermometer hygrometer for monitoring
Small fan for air circulation
Egg tray or carton
Shallow dish for water humidity
Tools: scissors, tape, drill
How to Build It:
1. Prepare the box
Clean it thoroughly
Drill small holes for ventilation
Add a clear window on top for checking inside
2. Install heating
Attach the bulb safely inside
Connect the thermostat to maintain a steady 99.5F 37.5C
3. Add a fan
Place it to gently circulate warm air evenly
4. Set the eggs
Use a tray or carton
Place eggs with the narrow end facing down
5. Maintain humidity
Add a shallow container of water inside the box
Ideal Conditions:
Temperature: 99.5F / 37.5C
Humidity:
Day 118: 4050%
Day 1921: 6570%
Turning the eggs:
Turn them 35 times daily
Mark each side to keep track
Candle the eggs:
Check on day 7 and 14 using a light
Remove any infertile eggs
Avoid these mistakes:
Letting temperature fluctuate
Not enough humidity chicks may stick to the shell
Overcrowding reduces airflow and increases risks
Why make your own incubator?
Much cheaper than buying one
You control every detail
A fun and educational project

Hi there — I’m Ava, the creator behind Ava Garden Tips 🌿
I’ve always been passionate about plants, flowers, and the simple joy that comes from growing something beautiful. What started as a small balcony garden has turned into a love for helping others create their own green spaces — no matter how big or small.