
Why Grow Artichokes in Containers?
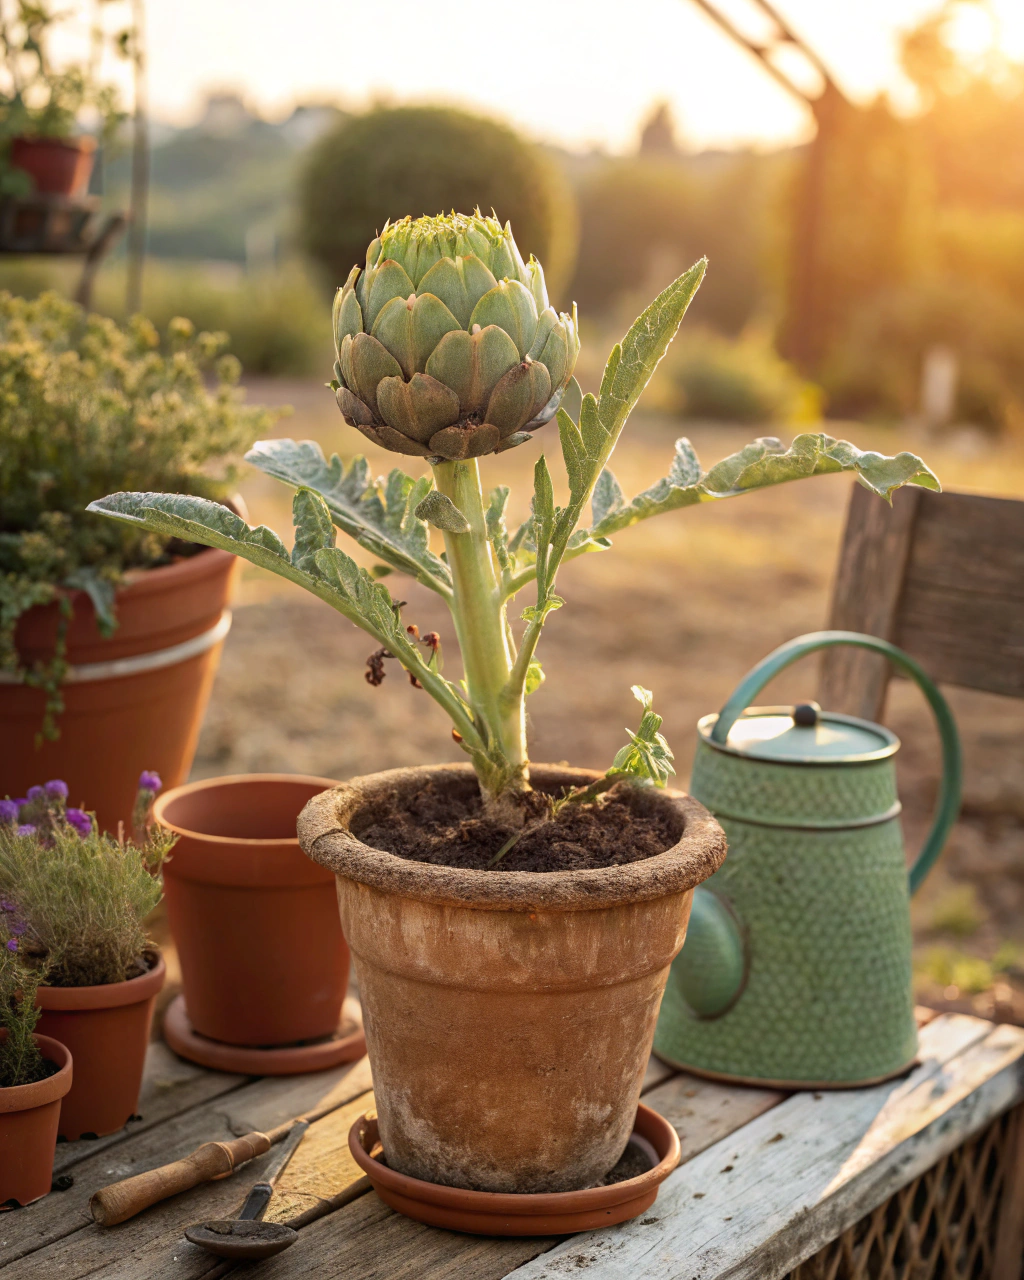
Imagine bringing a slice of the Mediterranean right to your balcony or patio—lush, architectural artichokes with their silvery-green, deeply lobed leaves and striking purple blooms. Growing artichokes in containers is not only doable but incredibly rewarding. You don’t need a sprawling garden; even limited space can produce these majestic vegetables. With their unique texture, subtle earthy flavor, and impressive size, artichokes make a statement and provide fresh, homegrown treats. You’ll enjoy a satisfying gardening journey with clear, simple steps to tackle space constraints, soil needs, and pests. Trust me—you’ve got this.
Getting Ready — What You’ll Need
Before you start, gather these essentials to make your container artichoke thrive:
- A container at least 30 cm (12 in) deep and 40–50 cm (16–20 in) wide. Artichokes have substantial roots that need space to spread out; bigger pots promote vigorous growth. (Terracotta pots help keep roots cooler in hot climates.)
- Well-draining soil mix: Combine 70% loam (for moisture retention and nutrients), 20% compost (to feed microbes and provide slow-release nutrition), and 10% coarse sand or perlite (ensures drainage and air pockets). This balance keeps roots moist but not soggy.
- Organic fertilizer low in nitrogen, such as fish emulsion or seaweed extract, for feeding every 3–4 weeks. Too much nitrogen means leafy growth but fewer edible buds.
- Sunlight exposure: a spot with 6–8 hours of direct sun. Artichokes love warmth but avoid scorching afternoon sun if you’re in a very hot region.
- Basic gardening tools: trowel, watering can with a narrow spout to avoid soil compaction, gardening gloves, and pruning shears for maintenance.
- Artichoke variety seed or seedlings: varieties like ‘Green Globe’ and ‘Imperial Star’ are popular and well-suited for containers. Seedlings give a faster start but seeds are rewarding if you want to grow from scratch.
- Optional: Mulch materials like straw or shredded leaves to maintain humidity around the roots.
Step-by-Step — How to Grow in Pots
1. Preparing Your Pot
Start fresh every season by thoroughly cleaning your containers to avoid disease buildup. Scrub with warm, soapy water and rinse well.
Create a proper drainage layer at the bottom using approximately 3–5 cm (1–2 in) of gravel or coarse broken pottery shards. This prevents water sitting at the roots, which causes rot. Then, fill the pot with your prepared soil mix, leaving about 5 cm (2 in) below the rim to allow for watering without overflow.
The soil should feel like “a sponge wrung out” — moist but not waterlogged. Avoid compacting the soil heavily; Roots need air. One common mistake is packing down soil too much, leading to poor drainage and root suffocation. Also, make sure your pot has several drainage holes; without them, you risk waterlogging and fungal problems.
2. Sowing or Planting
If you start from seed, sow them at a depth of 0.5–1 cm (about ¼ in). Keep seeds warm with an ideal germination temperature between 21-24°C (70-75°F). Before sowing, soak seeds in lukewarm water for 12–24 hours to soften the hard seed coat, speeding germination. When you cover seeds lightly with soil, gently press down so they’re in good contact, but leave the soil loose enough to let emerging shoots break through.
Spacing matters even in pots. Plan for one artichoke per 40–50 cm (16–20 in) pot. If you use a large container, you can plant two smaller seedlings set apart by at least 30 cm (12 in), but overcrowding reduces airflow and development.
Pro tip: Starting indoors under grow lights or a sunny windowsill can give seedlings a head start before transplanting outdoors once the nighttime temperature stays above 10°C (50°F).
3. Watering and Sunlight
Consistent moisture is critical. Water deeply until you see moisture draining from the base—typically about 2–3 times per week in warm weather. Feel the soil surface; if the top 2 cm (¾ in) starts to dry, it’s time to water again. Avoid shallow watering, which encourages weak root systems.
In hotter or windy climates, pots lose moisture faster. Group your pots together to create a microclimate and reduce evaporation. Mulching at the base helps retain humidity. If your site has intense afternoon sun above 30°C (86°F), use a light fabric shade for midday to prevent leaf scorch.
Artichokes thrive in 6–8 hours of sunlight daily, which drives bud production and healthy foliage. If you live in cloudier zones, place pots in the brightest spot and consider supplemental lighting.
4. Feeding and Maintenance
Feed your artichokes every 3–4 weeks with a balanced, low-nitrogen fertilizer to encourage bud growth rather than just leaves. Diluted liquid seaweed or fish emulsion works well, applied after watering to avoid root burn.
Thin out weak shoots once plants reach about 20 cm (8 in) tall to improve airflow. Prune any dead or yellowing leaves to keep the plant clean and reduce disease risk. Check the soil occasionally by loosening the top layer gently to maintain aeration but avoid disturbing roots deeply.
Watch out for nutrient imbalances: pale or curled leaves can signal deficiencies or overwatering. Adjust feeding accordingly. As one gardener says, “The secret is not more work — it’s regular care and observation.”
5. Troubleshooting While They Grow
You’ll notice early signs if something’s off:
- Yellow leaves: often from excess nitrogen; shift to fertilizer higher in phosphorus.
- Stunted growth: usually due to insufficient light or water; move pots to sunnier spots and check moisture levels.
- Soft or rotting roots: caused by poor drainage or overwatering; ensure your pot drains well, and let soil top dry before watering again.
- Pests like aphids or snails: spray with insecticidal soap or remove manually early; apply organic barriers if slug activity is high.
- Poor germination or misshapen seedlings: seeds too deep or compacted soil; keep seeds shallow and soil loose.
6. Harvesting
Artichokes are ready to harvest when buds are firm, plump, and tight before the purple flower begins to open—generally occurring 70–90 days after sowing. The bud size should be around 7–10 cm (3–4 in) in diameter, with a silvery-green exterior matte to the touch. You’ll feel a firm resistance when gently squeezing; if they soften or turn brown, they’re past their prime.
Cut the bud off with a sharp knife about 2.5 cm (1 in) below the base. Leave some stem to protect the plant from damage. Reduce watering in the week before harvest to concentrate flavors.
Store fresh artichokes in a cool, humid environment — ideally at 4–7°C (39–45°F) with high humidity — for up to 2 weeks. You can preserve them by pickling, blanching and freezing, or drying the leaves for teas or decoration.
Extra Tips for Perfect Results
- Grow artichokes alongside companions like beans (fix nitrogen), marigolds (deter pests), garlic (antifungal properties), and lettuce (shade root zones).
- Rotate container locations every season to prevent soil fatigue and pest buildup.
- Mulch pots with straw or shredded leaves to keep moisture consistent and soil temperature stable.
- Use collected rainwater when possible, as tap water can gradually harden or alkalize your soil.
- In windy areas, cluster pots for shelter and to share humidity.
- During intense midday sun, a thin fabric shade reduces stress and prevents leaf scorch.
Common Mistakes and How to Fix Them
- Overwatering: Keep soil moist but allow the top 2 cm to dry. Roots must breathe to avoid rot.
- Weak growth: Move pots to ensure at least 6 hours of strong sunlight; artichokes need light to grow robustly.
- Yellow leaves: Excessive nitrogen causes leafy but unproductive plants; balance with phosphorus-rich fertilizer.
- Poor germination: Sow seeds no deeper than 1 cm to allow shoots to break through easily.
- Compacted soil: Mix in sand or perlite to improve aeration and root shape, preventing twisty or misshapen roots.
Harvest and Storage
When harvesting, use a clean, sharp knife to cut the artichoke bud, taking care not to bruise or damage the stem or main plant. Harvest in the morning when plants are freshest for optimal flavor.
Store freshly picked artichokes at 4–7°C (39–45°F) with high humidity and away from direct light for up to 2 weeks. For longer storage, blanch and freeze or pickle your harvest. Dry leaves can be kept for teas or as natural decorations.
Save seeds by allowing one or two flower heads to mature and dry out on the plant. Collect seeds carefully, clean, and store in a cool, dry place for the next season.
What Success Looks Like
Pulling your first artichoke from a pot feels like an achievement: a firm, cool bud, heavy in your hand, promising tender hearts and preparations to come. The scent of the silvery foliage is fresh, subtly herbal, with a warm Mediterranean breeze in your mind. Expect yields of about 1–2 kg (2–4 lb) per plant during the growing season.
Success comes with patience and care. You’ll discover that consistent watering, regular feeding, and a watchful eye on light and pests make all the difference. Each harvested artichoke is proof that your small space can produce something extraordinary.
Mini Recap — Your Success Checklist
- Pot depth: at least 30 cm (12 in).
- Soil mix: 70% loam, 20% compost, 10% sand or perlite.
- Watering: 2–3 times weekly, adjusting by soil moisture touch test.
- Sunlight: 6–8 hours daily preferred.
- Fertilizer: every 3–4 weeks, low nitrogen, higher phosphorus.
- Harvest time: 70–90 days after sowing or transplant.
Closing Reflection
Every artichoke plant you nurture teaches patience, observation, and respect for nature’s rhythms. Don’t expect perfection all at once; instead, enjoy the process — watching, adjusting, and learning along the way. Remember, “Every plant you grow teaches you something new. Don’t rush it — watch, adjust, and enjoy. That’s what makes you a gardener.” Your container-grown artichokes will reward your efforts with beauty, flavor, and a profound connection to the natural world.

Hi there — I’m Ava, the creator behind Ava Garden Tips 🌿
I’ve always been passionate about plants, flowers, and the simple joy that comes from growing something beautiful. What started as a small balcony garden has turned into a love for helping others create their own green spaces — no matter how big or small.