
Why Grow Spinach Indoors Year-Round?
Spinach is one of the greenest, most nutrient-packed vegetables you can grow yourself. It’s quick to mature, packed with vitamins, and tastes freshly picked in a way store-bought never matches. You can do this, even if all you have is a sunny windowsill or a small balcony. Growing spinach indoors year-round gives you continuous access to tender, deep green leaves without worrying about season shifts or pests that plague outdoor gardens. Plus, you control everything—soil, water, light—which means fewer surprises and more success. Follow along, and I’ll show you clear, simple steps to grow spinach in pots confidently, with practical solutions for space, soil, watering, and pest problems.
Getting Ready — What You’ll Need
Before planting, gather these essentials to create a thriving spinach environment indoors. Each item is key to helping your spinach thrive:
- Containers: Choose pots at least 30 cm (12 in) deep with drainage holes. Clay pots keep roots cool in hot climates; plastic pots hold moisture better if you live dry.
- Potting mix: A loose, well-draining blend—ideally 70% loam, 20% compost, 10% coarse sand or perlite. This combo retains moisture but allows air to nourish roots.
- Seeds: Pick varieties suited for container growing and quick harvests, like ‘Bloomsdale’, ‘Baby Leaf’, or ‘Space’ spinach. These offer tender leaves and good yields indoors.
- Fertilizer: Use a balanced liquid fertilizer low in nitrogen, such as a 5-10-10 NPK. Nitrogen promotes leaf growth, but excess causes leggy plants. Organic options include seaweed or fish emulsions.
- Light source: If natural sunlight is limited, prepare a 6000K full-spectrum grow light on a timer for 6–8 hours daily. Natural south-facing windows work best.
- Watering tools: A watering can with a fine rose head ensures gentle watering; a moisture meter can prevent overwatering.
- Tools: Small hand trowel for seed sowing, pruning scissors for thinning, gloves for handling soil.
(If you’re on a budget, recycled yogurt pots with drainage holes can substitute for containers, and compost from kitchen scraps can reduce fertilizer expenses.)
Step-by-Step — How to Grow Spinach in Pots
1. Preparing Your Pot
Start with a clean pot to prevent disease—rinse with hot water or mild vinegar solution if you’re reusing one. Place a 2 cm (about ¾ in) layer of small gravel or broken pottery shards at the bottom to form a drainage layer. This stops roots sitting in water, which causes rot.
Next, fill the pot with your soil mix, leaving about 3 cm (1¼ in) from the rim to prevent overflow when watering. Aim for soil moisture like a sponge wrung out—moist but not soggy. Avoid pressing the soil down hard; packing reduces oxygen in the root zone, stunting growth. Also, make sure your soil pH stays between 6.0 and 7.0; spinach prefers slightly acidic to neutral soil.
2. Sowing or Planting
Sow seeds about 1 cm (⅜ in) deep and space them 5 cm (2 in) apart. If you want continuous harvest, sow in succession every two weeks. Pre-soaking seeds overnight softens the seed coat, speeding germination. Springs feel warm, around 15–21°C (59–70°F), are ideal for sprouting.
When done, cover seeds lightly with soil. You should feel soft soil above the seeds with just a hint of firmness beneath your finger. Watch for tiny green shoots in 7–14 days.
Pro tip: After sowing, cover the pot with plastic wrap or a clear dome until sprouts appear to keep humidity up, then remove to prevent mold.
3. Watering and Sunlight
Water deeply until you see moisture at the drainage holes—about 2–3 times per week in warmer conditions. Soil should feel moist about 3 cm (1¼ in) below surface, not drenched or dry. If the leaves droop slightly, it’s an early water signal.
Spinach loves 6–8 hours of bright light daily. If natural light is limited, use a grow light set 15–20 cm (6–8 in) above plants. In hot, dry, or windy indoor spots, group pots to reduce moisture loss, or place a layer of organic mulch like straw.
For hot indoor environments, give some afternoon shade or rotate pots to equalize light exposure, preventing leggy plants.
4. Feeding and Maintenance
Feed your spinach every 3–4 weeks with a diluted, low-nitrogen fertilizer. For example, mix 1 teaspoon of liquid seaweed or balanced organic fertilizer into 1 liter of water and apply gently to soil.
Thin seedlings once true leaves appear, sending nutrients to stronger plants spaced 10–15 cm (4–6 in) apart. Prune any damaged leaves promptly to encourage airflow and prevent disease.
Check soil aeration weekly by gently poking a finger or small stick into soil to ensure it’s loose and not crusted.
“The secret is not more work — it’s regular care and observation,” a veteran grower once told me, and I couldn’t agree more.
5. Troubleshooting While They Grow
These are common issues you’ll encounter and simple fixes:
- Yellow leaves: usually too much nitrogen or excessive watering. Switch to fertilizer with less nitrogen and let soil dry slightly.
- Stunted growth: insufficient light—move plants closer to windows or increase grow light time.
- Wilting or soggy soil: drainage clogged or overwatering—check holes, reduce watering frequency.
- Pests: indoor aphids or spider mites appear as small green bugs; wipe leaves with soapy water or neem oil spray.
- Powdery mildew: white dust-like spots—improve air circulation and spray with baking soda solution.
6. Harvesting
Spinach is ready when leaves reach 7–10 cm (3–4 in) long, or roughly 70–90 days after sowing. The leaves will be deep green, tender, and firm to touch—not limp or yellowed.
For best flavor, reduce watering the week before harvest; this concentrates sugars, improving taste. Gently pinch or cut leaves about 2.5 cm (1 in) from the base to encourage regrowth. When pulling whole plants, expect a satisfying snap at the stem’s base.
Store harvested leaves in a sealed container at around 4–7°C (39–45°F) with high humidity (85%) for up to 1–2 weeks. Avoid wet leaves that spoil quickly.
Extra Tips for Perfect Results
- Companion plants like radishes, strawberries, lettuce, and herbs such as chives discourage pests and improve growth.
- Rotate your pots every season to prevent nutrient depletion and soil fatigue.
- Apply a thin mulch layer of straw or dry leaves to keep moisture consistent and deter weeds.
- Collect and use rainwater for irrigation; tap water may have minerals that over time harden soil.
- Cluster pots in windy spots indoors or near windows to share humidity and provide stability.
- During hot seasons, use a sheer fabric screen to block the harshest midday sun.
Common Mistakes and How to Fix Them
- Overwatering: causes mushy roots and rot—let top 2 cm of soil dry before watering again.
- Weak growth: often from inadequate light—move pots to brighter locations.
- Yellow leaves: excess nitrogen encourages lush but fragile leaves; switch to fertilizer with higher phosphorus ratios.
- Poor germination: seeds planted too deeply—limit sowing depth to 0.5–1 cm.
- Misshapen roots: soil too compact—mix in 10% coarse sand or perlite for better aeration.
Harvest and Storage
For gentle harvesting, use scissors or pinch with fingers to avoid root damage, which can stress plants if you want multiple harvests. Keep freshly picked spinach cool immediately by placing leaves in a breathable mesh bag.
Store spinach in the refrigerator at 4–7°C (39–45°F) with high humidity for up to 14 days. Avoid washing before storage—wash right before use to extend shelf life.
For longer preservation, blanch leaves for 2 minutes, then freeze. Drying or pickling are alternatives for surplus leaves. If you want to save seeds for next season, allow some plants to bolt (flower), collect seeds once pods dry, and store in a cool, dry place.
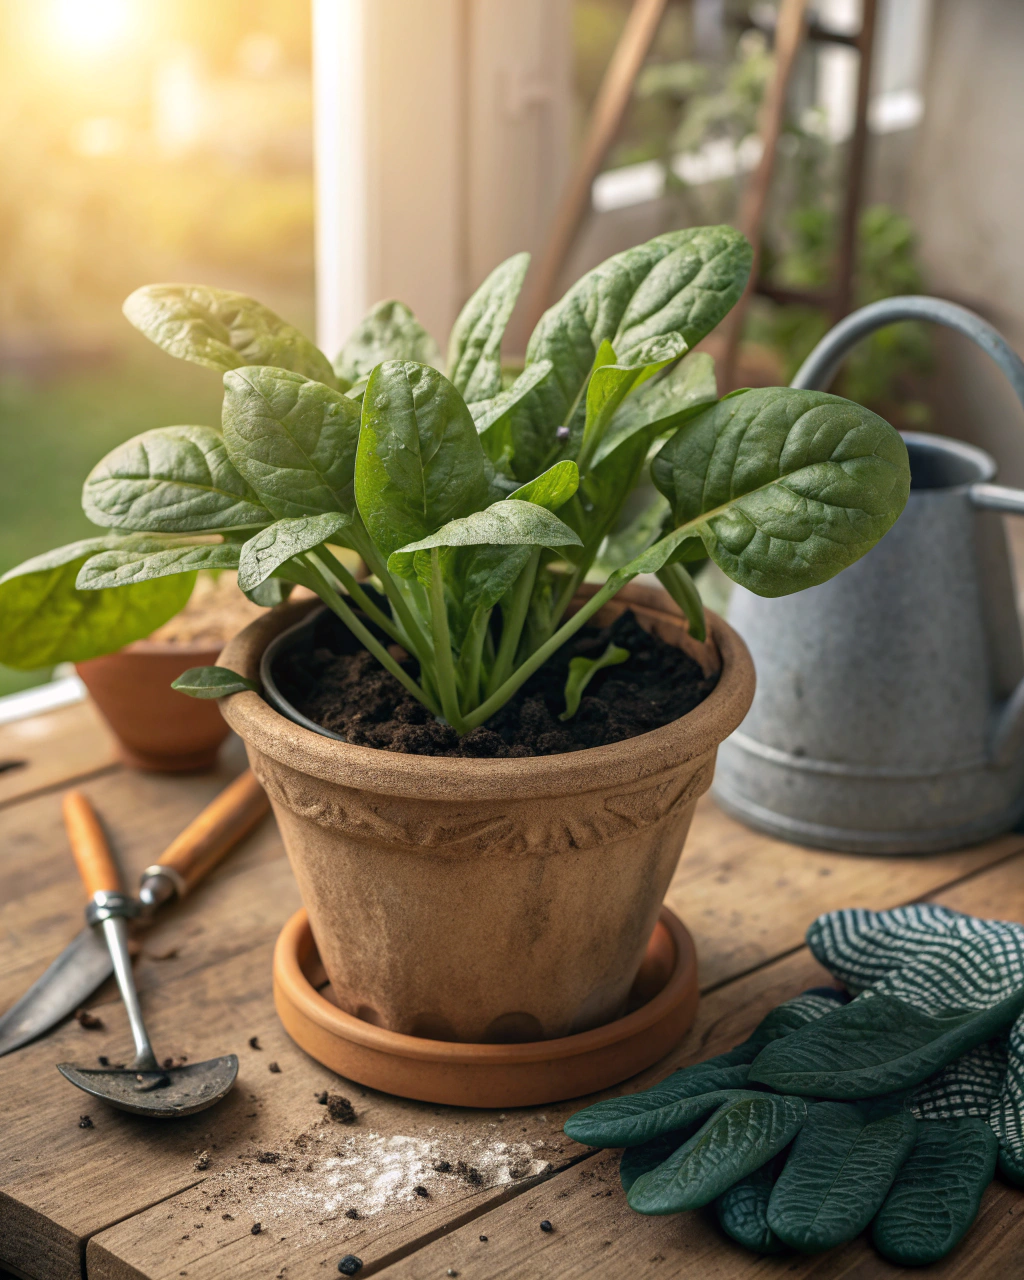
What Success Looks Like
Picture a pot filled with lush, shiny, dark-green leaves, their scent fresh and grassy with a hint of earthiness. Each leaf feels crisp to the touch, and when you cut or pinch one, you hear a subtle but satisfying snap. Expect yields of around 1–2 kg (2–4 lbs) per container per growing cycle when cared for properly. It’s proof that your steady attention, patience, and love for the process pay off in nourishing greens on your own schedule. Consistency, observation, and connection with your plants turn this simple spinach pot into a small, thriving ecosystem.
Mini Recap — Your Success Checklist
- Pot depth: 30 cm (12 in) minimum for roots to develop fully.
- Soil mix: 70% loam, 20% compost, 10% sand/perlite for moisture and aeration.
- Watering: 2–3 times per week, checking soil moisture by touch.
- Sunlight: 6–8 hours bright light daily.
- Fertilizer: Every 3–4 weeks, low nitrogen preferred.
- Harvest: 70–90 days after sowing or when leaves are 7–10 cm (3–4 in) long.
Closing Reflection
Growing spinach indoors year-round isn’t magic—it’s a blend of clear steps and careful observation. Each day you tend your pots, you learn a little more, adjusting water, light, and care in response to what the plants tell you. Success doesn’t come from perfection, but from these small, continuous acts. Take your time, enjoy the sensory reward of touch, smell, and sight, and know that every leaf you harvest represents your growing skill and patience. That is what makes you not just a gardener, but a cultivator of life.

Hi there — I’m Ava, the creator behind Ava Garden Tips 🌿
I’ve always been passionate about plants, flowers, and the simple joy that comes from growing something beautiful. What started as a small balcony garden has turned into a love for helping others create their own green spaces — no matter how big or small.