Why Grow Violet Flowers in Pots?
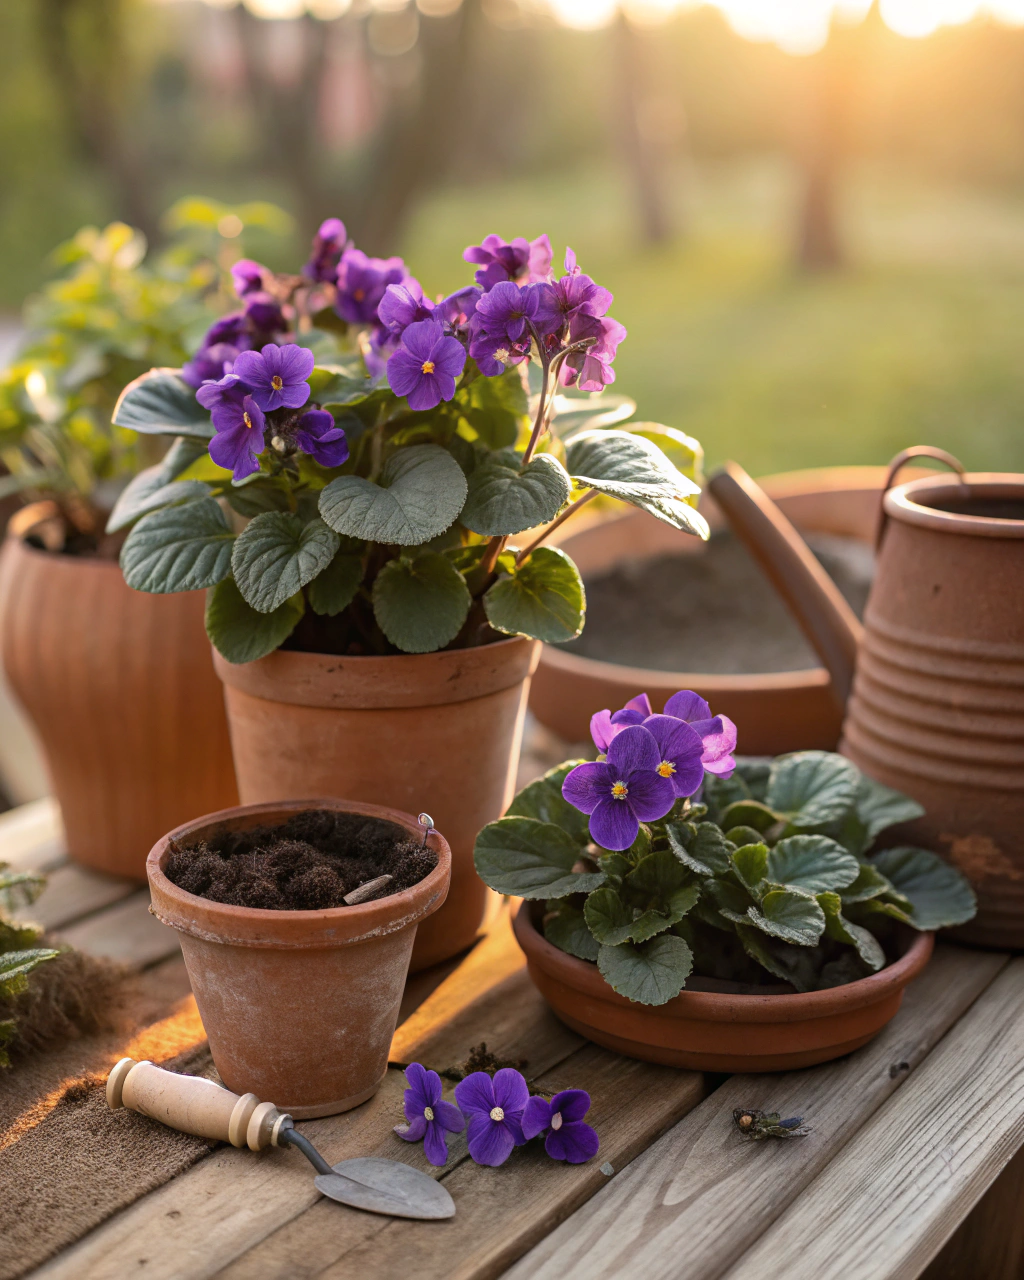
Growing violet flowers in pots adds a dash of rich color and delicate charm to any space, no matter how small. You don’t need a large garden to enjoy their velvety petals and sweet fragrance. Whether on a balcony, windowsill, or patio, violets brighten your surroundings with their vibrant purple, blue, or white blooms. The best part? They’re surprisingly easy to grow once you know the secrets.
You can do this—even if you’re new to gardening or limited on space. This guide walks you step-by-step through choosing the right container, planting, watering, feeding, and troubleshooting common problems. Follow these clear, simple instructions, and soon you’ll have pots bursting with fresh pops of color that lift your spirits daily.
Getting Ready — What You’ll Need
Before you start, gather these essentials to give your violet flowers the perfect start:
- Container: Choose pots at least 15–20 cm (6–8 inches) deep, with drainage holes to prevent waterlogging. Clay pots are ideal for hot areas as they keep roots cool, but plastic pots retain moisture better in dry regions.
- Soil: Use a light, well-draining mix. A good ratio is 70% quality garden loam, 20% organic compost, and 10% coarse sand or perlite. This mix keeps moisture balanced without suffocating roots.
- Fertilizer: Select a balanced, low-nitrogen fertilizer (e.g., 10-10-10 NPK) or organic alternatives like fish emulsion or diluted seaweed extract.
- Seeds or seedlings: Choose reliable violet varieties such as African violets (Saintpaulia) for indoor pots, or hardy violet species like Viola odorata for outdoor containers.
- Watering tools: A watering can with a fine spout lets you control moisture carefully to avoid overwatering.
- Light source: Violets need 6–8 hours of indirect or dappled sunlight daily—ideal spots include east or north-facing windows or shaded patios.
- Basic tools: Hand trowel, pruners, gloves, and a spray bottle for misting foliage if air is dry.
Pro tip: For an eco-friendly option, reuse old containers with proper drainage holes and create your own composted soil blend for a budget-friendly start.
Step-by-Step — How to Grow Violet Flowers in Pots
1. Preparing Your Pot
Start by thoroughly cleaning your pot with warm water to remove dust, algae, or previous residues. This prevents diseases from carrying over. Ensure the drainage holes are clear—if not, drill or poke additional 4–6 holes evenly spaced.
Now, add a 2–3 cm (around 1 inch) drainage layer using broken pottery shards, gravel, or coarse sand at the bottom. This layer helps excess water flow out and stops soil from clogging holes.
Fill your pot with the prepared soil mix up to about 2 cm below the rim. Lightly firm the soil to remove large air pockets but avoid compacting it—roots need space and oxygen.
The ideal moisture level in your soil should feel like a sponge rung out—moist but not wet. Avoid watering before planting; start with damp soil to encourage seed or seedling establishment.
Common pitfall: Using dense, heavy soil or pots without holes leads to soggy roots and rot. Also, avoid very acidic or alkaline soil; violets prefer a neutral to slightly acidic pH around 6.0–7.0.
2. Sowing or Planting
If you’re starting from seed, gently press seeds into the soil surface, covering them lightly with no more than 0.5–1 cm of fine soil. Some violet seeds benefit from pre-soaking in lukewarm water for 6–8 hours, which softens their coats and boosts germination.
Seeds prefer temperatures around 18–22°C (65–72°F). Place your pot in a warm spot with bright, indirect light. You’ll notice tiny seedlings emerging in 10–14 days—they should feel tender but sturdy with small pairs of heart-shaped leaves.
For planting store-bought seedlings, space them about 10–15 cm apart to give mature plants room to spread. Press the root ball gently into moist soil, making sure the crown sits just above the surface to prevent rot.
Pro tip: Cover seeds with a clear plastic lid or use a plastic bag to maintain humidity during germination. Remove covers gradually once seedlings sprout to avoid mold.
3. Watering and Sunlight
Water your violets deeply so the moisture reaches the root zone. Aim for watering about 2–3 times per week in warm weather, or when the top 2 cm of soil feels dry. Use room-temperature water to avoid shocking roots. Avoid wetting leaves excessively—water at the base.
If your environment is hot and dry, group pots together to increase humidity or apply a thin layer of mulch like shredded bark, which conserves moisture and keeps roots cool. In windy areas, cluster pots against a sheltered wall.
Violets love 6–8 hours of bright but indirect sunlight each day. If you’re growing them indoors, an east-facing window is ideal—you’ll enjoy gentle morning light without harsh afternoon sun. In areas with persistent clouds, supplement with grow lights set to a 12-hour daily cycle.
4. Feeding and Maintenance
Feed your violets approximately every 3–4 weeks with a balanced fertilizer low in nitrogen but higher in phosphorus and potassium. Too much nitrogen encourages leaves over flowers, reducing blooms. Dilute liquid fertilizers according to label directions (half-strength is safer for young plants).
Thin seedlings or remove weak stems to improve airflow and light penetration; this prevents fungal issues. Pinch off faded flowers to encourage continuous blooming.
Loosen soil gently with a hand fork every few weeks to maintain good aeration. Compact soil restricts root growth and causes waterlogging.
“The secret is not more work — it’s regular care and observation.” — This comes from years tending violets. Notice how your plants respond, and adjust watering or light accordingly.
5. Troubleshooting While They Grow
Yellow leaves often signal overwatering or nitrogen excess. If leaves turn starchy or pale, boost phosphorus by mixing in compost or liquid seaweed.
If your violets show stunted growth, check for adequate sunlight—move pots to a brighter spot. If seedlings fail to sprout well, maybe seeds were planted too deep—limit soil coverage to 1 cm.
Watch out for pests like aphids and spider mites. Wipe leaves with a damp cloth or spray with insecticidal soap early to prevent infestations.
If soil remains soggy longer than expected, double-check your drainage holes and reduce watering frequency.
6. Harvesting
Once your violets have established, you can enjoy their blossoms typically within 70–90 days after sowing. Choose flowers when petals are fully open but still firm, with rich, saturated colors. The blossoms should feel velvety but crisp to the touch.
To pick flowers, hold the stem gently near the base and twist slightly to avoid damaging neighboring buds. For seed collection, wait until seed pods turn dry and brown before harvesting.
To enhance flower longevity, reduce watering slightly in the final week before harvest—this encourages stronger stems and richer pigmentation.
Store harvested flowers in a cool, dark place at about 4–7°C (39–45°F) and high humidity for up to 2 weeks. For longer preservation, violets can be dried or crystallized for decoration.
Extra Tips for Perfect Results
- Companion plants: Grow violets alongside herbs like chives or marigolds to repel pests, nasturtiums to attract beneficial insects, and sweet alyssum to improve pollination.
- Rotate your pots each season to prevent soil fatigue and nutrient depletion, giving roots fresh territory regularly.
- Mulch with straw or dried leaves during warmer months to retain moisture and regulate soil temperature.
- Whenever you can, use rainwater—it’s softer and prevents mineral buildup common with tap water.
- Cluster pots in windy areas to reduce drying and improve stability.
- Under hot midday sun, provide a light fabric shade—like garden netting—to protect leaves from scorch.
Common Mistakes and How to Fix Them
- Overwatering: Roots become soft and rot. Solution: let the top 2 cm dry out before watering again.
- Weak growth: Too little light. Solution: Move the pot to a sunnier spot.
- Yellow leaves: Excess nitrogen. Solution: Use fertilizer higher in phosphorus and potassium.
- Poor germination: Seeds planted too deep. Solution: Keep seed depth to 0.5–1 cm.
- Misshapen roots: Soil too compact. Solution: Mix in 10% perlite or coarse sand to improve airflow.
Harvest and Storage
Gently harvest flowers and seed pods to avoid damaging delicate stems or roots. Always use clean scissors or pinch by hand close to the base of the bloom.
Store your harvested violets in a cool, dark place maintained at about 4–7°C (39–45°F). Keep humidity high but avoid condensation to prevent mold. Under these conditions, flowers stay fresh up to 2 weeks.
For longer preservation, try drying flowers on paper towels in a cool, shaded area, or crystallize petals with sugar syrup for decorative use.
Collect and dry seed pods once fully mature and dry. Store seeds in a cool, dry container for planting next season.
What Success Looks Like
When you see your violet flowers fully open, their rich colors vibrant and petals soft but firm, you’ll feel a deep sense of accomplishment. The gentle fragrance fills the air, inviting quiet moments of appreciation. A single pot can yield 20–30 flowers per season, brightening both your space and your mood.
The real success is in the daily connection—touching the cool leaves, noticing new buds, watching petals unfold. Each pot becomes a small world you’ve nurtured, proof that patience and consistent care always pay off.
Mini Recap — Your Success Checklist
- Pot depth: Minimum 15–20 cm (6–8 inches).
- Soil mix: 70% loam, 20% compost, 10% sand.
- Watering: 2–3 times per week, adjusting by touch.
- Sunlight: Provide 6–8 hours indirect light daily.
- Fertilizer: Feed every 3–4 weeks, low nitrogen formula.
- Harvest: Blooms appear 70–90 days after sowing.
Closing Reflection
Remember, growing violets is not about perfection but steady, small steps. Each plant teaches you something new. Watch closely, learn patiently, and adjust as you go. That’s what turns any gardener—from novice to expert. Soon, your pots will be alive with color and life, a satisfying reward for your care and attention.

Hi there — I’m Ava, the creator behind Ava Garden Tips 🌿
I’ve always been passionate about plants, flowers, and the simple joy that comes from growing something beautiful. What started as a small balcony garden has turned into a love for helping others create their own green spaces — no matter how big or small.
