
Introduction
Caring for your aloe vera plant well means more than just keeping it alive — it’s about nurturing a thriving specimen that offers both beauty and health benefits. Whether you have your aloe vera perched on a sunny balcony or nestled on a windowsill, a well-cared-for plant rewards you with lush, plump leaves rich in soothing gel and vibrant green color. The best part is, you don’t need a greenhouse or fancy gadgets to succeed. With consistent care and a bit of observation, you’ll keep dryness at bay and your plant happily flourishing. Think of this guide as your companion, walking you through every step with experience and care.
Preparing the Perfect Setup
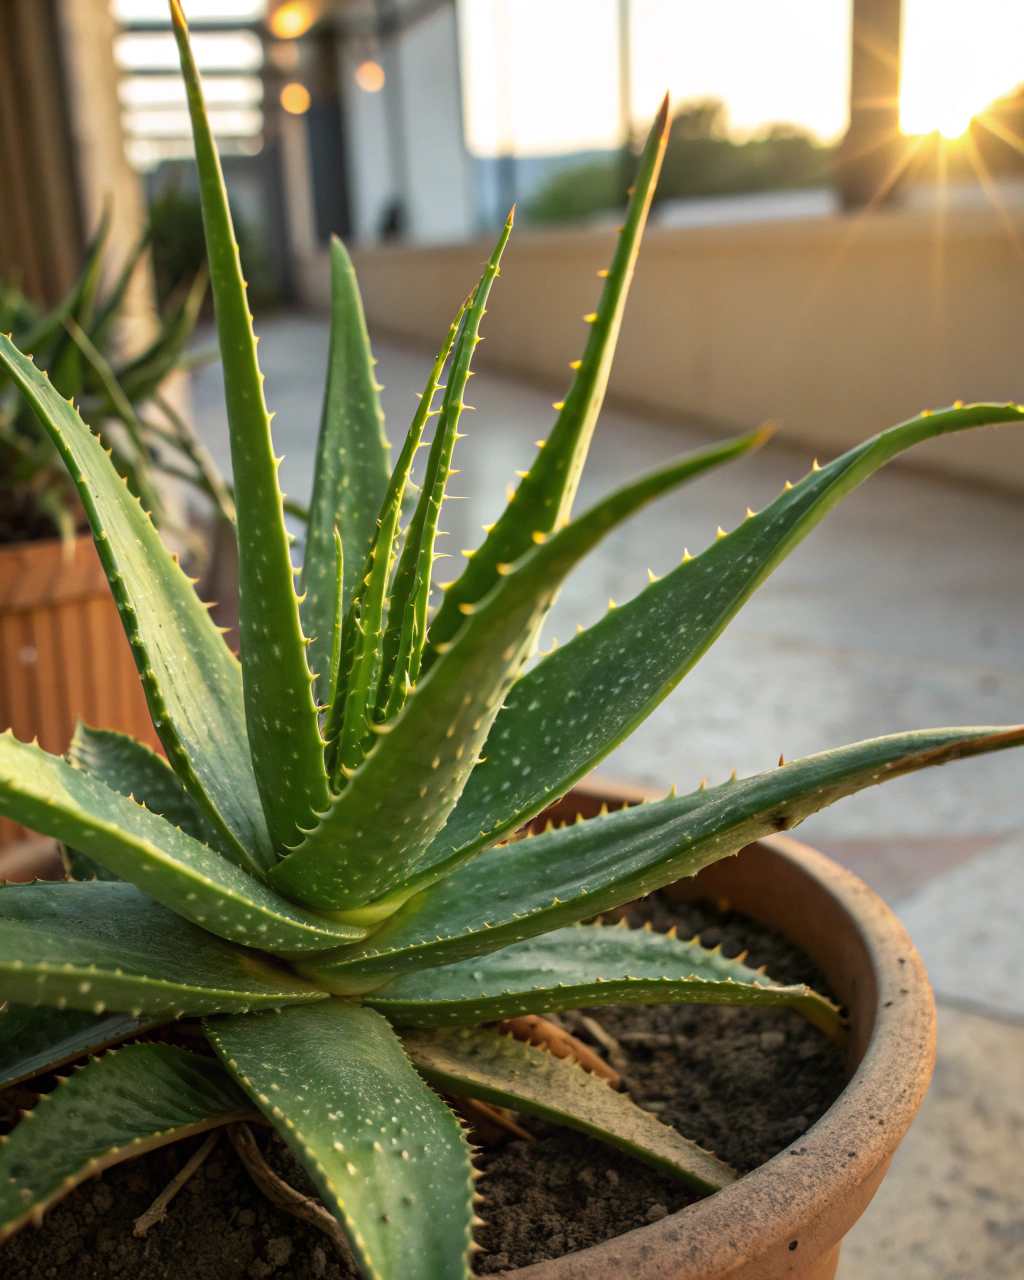
Before you bring your aloe vera home or move it to a new spot, the right setup is crucial. You’ll need the proper container, substrate, light, temperature, humidity, and fertilizer — each chosen thoughtfully to create an environment where your plant can thrive. An ideal pot should be just the right size, with excellent drainage to prevent standing water, since aloe roots despise sogginess and can rot easily.
- Pot: Select a pot with a diameter only slightly larger than your plant’s root ball, ideally 15–20 cm for a mature aloe. Choose containers with multiple drainage holes to avoid water accumulation. If your space tends to be hot, clay or terracotta pots are your best friends—they breathe and help keep the root zone cooler than plastic.
- Substrate: Aloe vera requires a well-draining, gritty soil mix. Combine 50% coarse sand or perlite with 30% organic potting soil and 20% fine gravel or pumice to keep the medium light and airy. Aim for a slightly acidic to neutral pH between 5.5 and 6.5. This balance ensures roots breathe freely and nutrients remain available.
- Light: Aloe thrives in bright indirect light, receiving between 6 and 8 hours daily — that translates roughly to 10,000–20,000 lux. Intense, unfiltered sunlight may scorch leaves, so use a sheer curtain if your window faces south or west.
- Humidity: Unlike tropical plants, aloe vera prefers moderate humidity. Maintain relative humidity between 50% and 70%. You can promote this by grouping plants, using humidity trays with pebbles and water, or employing a small humidifier, especially in dry winter months.
- Temperature: Your aloe prefers stable daytime temperatures between 18–24°C (65–75°F). Nighttime temperature should not drop below 13°C (55°F), as cooler conditions stress the plant and slow growth.
- Fertilizer: During the growing season, feed your aloe vera with a balanced liquid fertilizer like 20-20-20, diluted to a 1:10 ratio. Apply every 3–4 weeks to promote steady leaf development without risking salt buildup.
Having all these elements in harmony sets your aloe vera up for success from the start. Before you move to regular care, always feel the soil substrate—it should feel dry on top but slightly cool and crumbly underneath. Any soggy, compacted spots must be avoided.
Step-by-Step Care Routine
1) Understanding the Plant’s Cycle
Aloe vera, like many succulents, has cycles of active growth and rest. Typically, growth ramps up during warmer months — spring through early autumn — when longer daylight and warmer temperatures encourage new leaf production. During this time, your plant needs consistent watering, feeding, and attention. Come late autumn and winter, aloe vera enters a quieter, semi-dormant phase. Growth slows, and the plant redirects energy to root maintenance and leaf strengthening.
I recall early on in my aloe journey, I made the mistake of watering daily through winter, thinking it was helpful. Instead, the plant’s roots stayed wet and slowly began to rot. From that moment, I learned the importance of respecting aloe vera’s rest period by reducing watering and holding back fertilizer. By synchronizing care with the plant’s internal clock, you encourage stronger recovery and stunning leaf fills in warmer months.
2) The Right Pot and Substrate
Knowing when and how to repot protects your plant from stress. If your aloe’s roots are bursting out of drainage holes or circling inside the pot, or if the substrate smells sour or feels heavy and damp, it’s time. However, if roots look firm, white or pale green, and the soil is fresh and loose, hold off on repotting to avoid unnecessary disturbance.
When checking the substrate, it should feel dry and crumbly to your fingers—not sticky or compacted. Improved aeration and drainage are essential. Many beginners make the mistake of using standard potting soil, which holds too much moisture and suffocates roots. Instead, opt for your custom gritty mix — you’ll notice the difference straightaway in how the plant looks and feels.
3) Watering the Smart Way
Watering aloe vera correctly is vital to prevent dryness without encouraging rot. Water your plant thoroughly once a week when the top 2–3 cm of soil feels dry to the touch. Use lukewarm, soft water to avoid shocking the roots, and make sure all excess moisture drains away—never let your pot sit in standing water.
Use the “weight test” to guide your watering schedule: simply lift the pot and feel its heaviness. After watering, it feels substantially heavier; check again before watering next—if it still feels heavy, postpone watering by a couple of days. During cooler months, reduce watering frequency to every 10–14 days. When the air turns dry and hot, you may need to water a bit more often, always ensuring the soil surface has dried first.
4) Light, Temperature, and Humidity Balance
Finding the sweet spot for light and climate conditions is like fine-tuning a symphony for your aloe. Place your plant near an east-facing window where it basks in bright indirect light for 6–8 hours. This ensures vibrant green leaves without sunburn. Rotating the pot weekly promotes even growth and prevents one-sided stretching.
Maintain humidity around 60% by grouping your aloe with other plants or using a humidity tray. Signs of stress might include yellow leaf tips signaling too much light or browning from dry air. If you spot these symptoms, gently adjust environment and hydration. If leaves wrinkle, it often means underwatering, while soft, mushy leaves point toward overwatering or low light.
Temperature stability is just as important. Keep your plant comfortably between 18–24°C during the day and above 13°C at night. Avoid drafts and heaters that cause temperature spikes or dips.
5) Feeding and Fertilization
Feeding your aloe vera stimulates healthy leaf growth and general vigor. Use a balanced liquid fertilizer such as 20-20-20, diluted to a 1:10 ratio, applying every 3–4 weeks only during the plant’s active growth season — spring through early autumn.
Pause fertilization from late autumn through winter to respect the plant’s natural rest period. Watch for telltale signs of nutrient imbalances: pale or yellowing leaves may mean a deficiency, while white crusts on soil surface warn of overfeeding and salt buildup. To combat salt accumulation, flush the soil with clear water once a month until water drains freely and cleanly.
6) Pruning, Cleaning, and Post-Bloom Maintenance
Pruning your aloe vera is simple but important. After flowering, cut old flower spikes about 1 cm above a green node if they are still somewhat healthy. If the spike has dried brown, cut it back cleanly at the base to avoid harboring pests or diseases.
Dust accumulates quickly on aloe’s broad leaves, impairing photosynthesis and inviting pests. Every two weeks, wipe leaves gently with a soft, slightly damp cloth. This also gives you a chance to inspect for pests or damage.
Always sanitize your pruning shears with alcohol before use to prevent the spread of pathogens. I’ve come to believe that the secret to thriving plants isn’t doing more — it’s observing better. Taking time to notice your aloe on each visit reveals subtle clues about its wellbeing, guiding your next step.
7) Repotting — Only If Needed
Repot aloe vera only when necessary, usually every 12 to 24 months. Signs include roots circling tightly, medium break down, or drainage issues. Premature repotting stresses the plant and can delay growth.
If you repot, choose a pot just 2–5 cm wider in diameter than the current one. Carefully remove the aloe, gently shake off old soil, and trim any rotting roots with sterilized scissors. Place the plant in fresh substrate, keeping the crown at the same soil level as before. Water lightly and locate the aloe in a shaded spot for a week while it recovers.
8) Propagation and Renewal (If Applicable)
Aloe vera propagates easily through offsets or “pups” that grow beside the mother plant. During repotting, gently separate these pups, ensuring each has some roots attached. Plant them in small pots with fresh well-draining substrate.
Keep new plants at stable temperatures of 18–24°C and relative humidity about 60% until established. Avoid heavy watering until they develop robust roots. Propagation rejuvenates your collection and gives you a chance to share the magic of aloe vera with friends.
Common Problems and How to Fix Them
- Yellow leaves: Usually caused by too much watering or inadequate light. To fix, increase exposure to 6–8 hours of bright indirect light and ensure the soil surface dries out before watering again.
- Brown tips: Often the sign of dry air or inconsistent watering. Raise humidity by grouping plants, applying a humidity tray, or using a humidifier to maintain 60–70% RH.
- No blooms: Occurs when light or nutrients are insufficient. Move your plant closer to a suitable window and consider switching to a bloom-specific fertilizer with a formula such as 10-30-20 during flowering season.
- Root rot: Usually caused by soggy substrate or poor drainage. Unpot your plant, trim off soft, dark roots, replace with fresh gritty substrate, and cut back watering frequency until the plant shows signs of recovery.
- Pests: Common pests include spider mites and mealybugs. Treat affected plants weekly with neem oil or insecticidal soap and improve air circulation to discourage infestations.
Seasonal Adjustments
Each season brings its own challenges and rhythms. In the summer, your aloe will appreciate slightly more frequent watering and a boost in humidity to counter heat and dry air. Conversely, in winter, reduce watering to every 10–14 days only, stop fertilization altogether, and place the plant away from drafty windows or heating vents.
By tuning your care to the season, you support the plant’s natural cycles and prevent stress. Small adjustments like these help your aloe maintain balance all year long, ensuring it wakes from winter ready to grow strong and fresh come spring.
Quick Facts — Your Key Numbers
- Light: 6–8 hours bright indirect (approximately 10,000–20,000 lux).
- Watering: Once weekly; water when top 2–3 cm of soil is dry.
- Humidity: Maintain between 50–70% RH.
- Temperature: Daytime between 18–24°C (65–75°F); nights above 13°C (55°F).
- Fertilizer: Balanced liquid 20-20-20, diluted 1:10, every 3–4 weeks during active growth.
- Repotting: Only when substrate degrades or roots overflow, approximately every 12–24 months.
Checklist for Success
- Provide bright but indirect light; rotate the pot weekly for even growth.
- Ensure excellent drainage; never let water pool at the pot’s bottom.
- Maintain steady humidity in the 50–70% range and good airflow.
- Feed lightly and regularly during growth season; flush the substrate monthly.
- Regularly inspect roots—healthy roots are firm and pale green or white.
- Prune flower spikes only after full drying; sanitize tools before use.
- Repot only when necessary to avoid stressing the plant.
Final Words of Advice
Ultimately, caring for your aloe vera is about cultivating a relationship of observation and consistent attention—not about perfect routines or fussing hourly. These plants respond beautifully to patience and respect. They tell you their needs through small signals: the wrinkled leaf, the faded color, the stubborn bloom. By tuning into these messages, you’ll become a confident gardener, rewarded by the vibrant health and resilience of your aloe vera.
Remember, every aloe vera has a story to tell. Give it time, meet it with kindness, and it will reward you with not just beauty and healing leaves, but a quiet reminder that great care grows from simple, steady acts.

Hi there — I’m Ava, the creator behind Ava Garden Tips 🌿
I’ve always been passionate about plants, flowers, and the simple joy that comes from growing something beautiful. What started as a small balcony garden has turned into a love for helping others create their own green spaces — no matter how big or small.